Workflows
Automate outputs for new video assets.
A Workflow tells Chunkify which additional outputs to create after a video asset reaches ready. Use one for static MP4 renditions, transcripts, captions, translations, or additional thumbnails. Every video asset still gets an HLS stream, poster, and timeline previews without a Workflow.
You need Team owner access to create a Workflow or change the Project default.
Create and use a Workflow
Create a Workflow
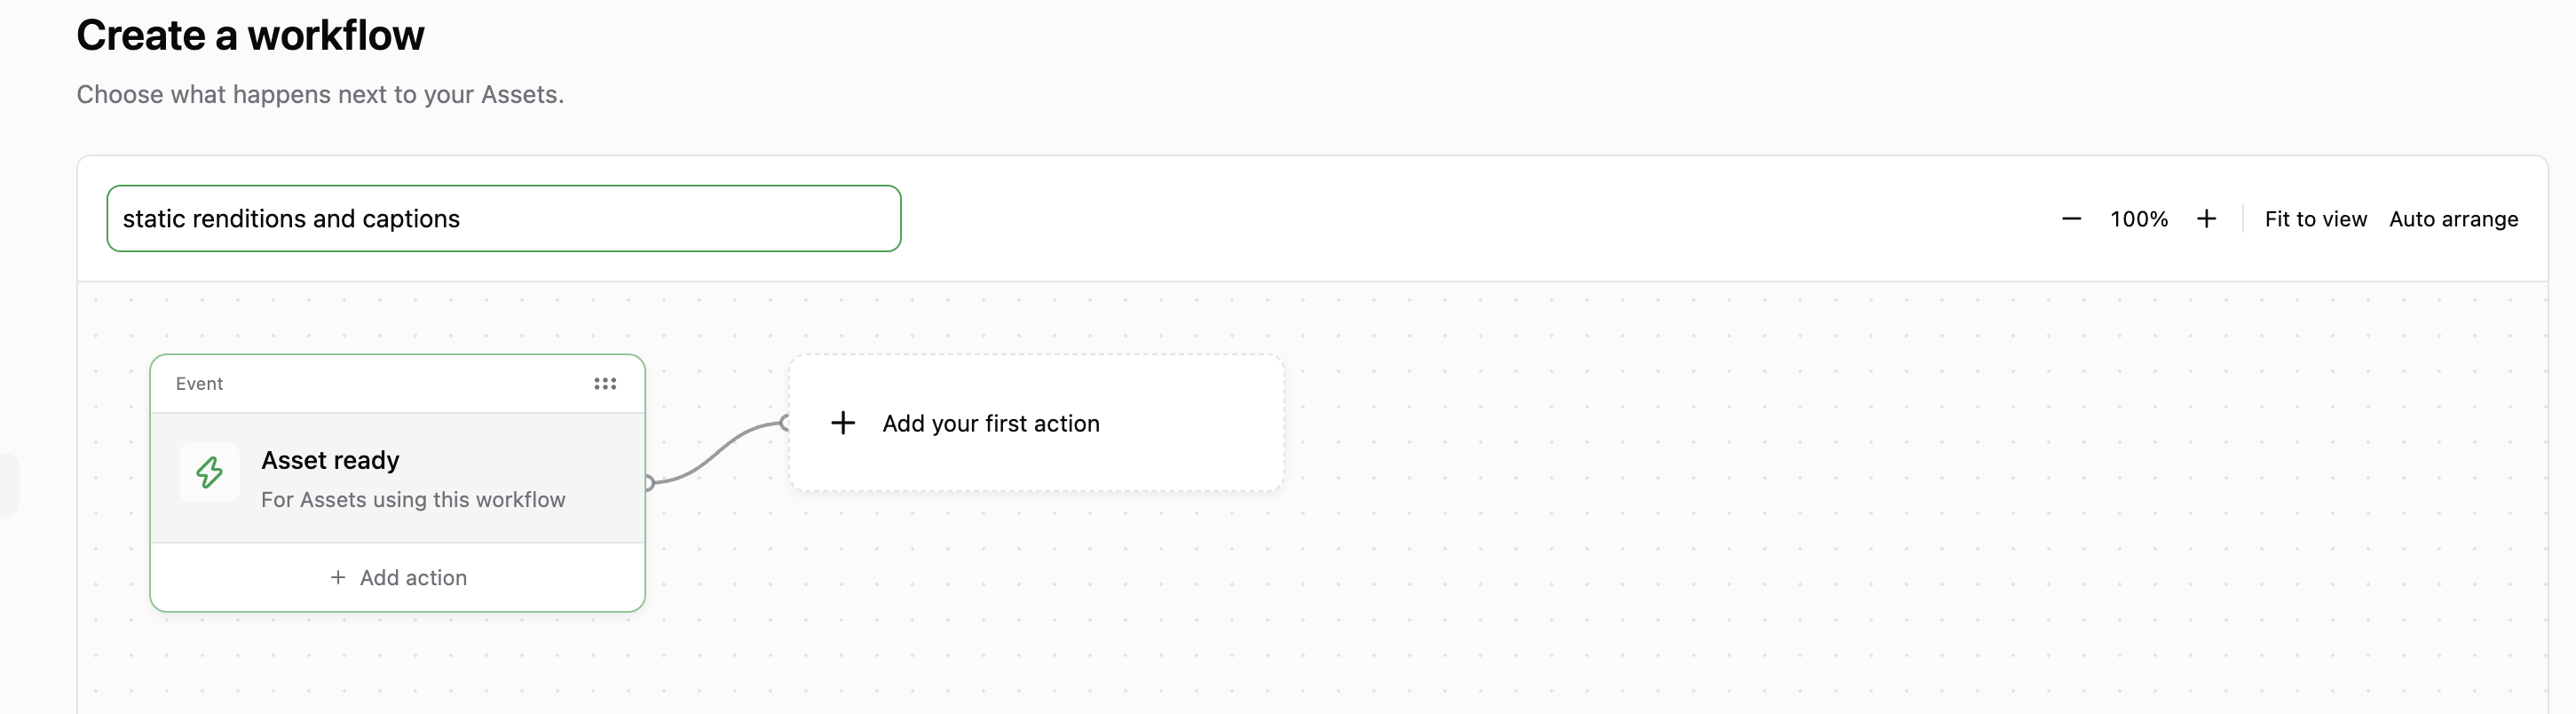
In your Project, open Video streaming → Workflows and click on the + Workflow button. Enter a name. The editor starts with Asset ready; select Add your first action to choose what happens next.
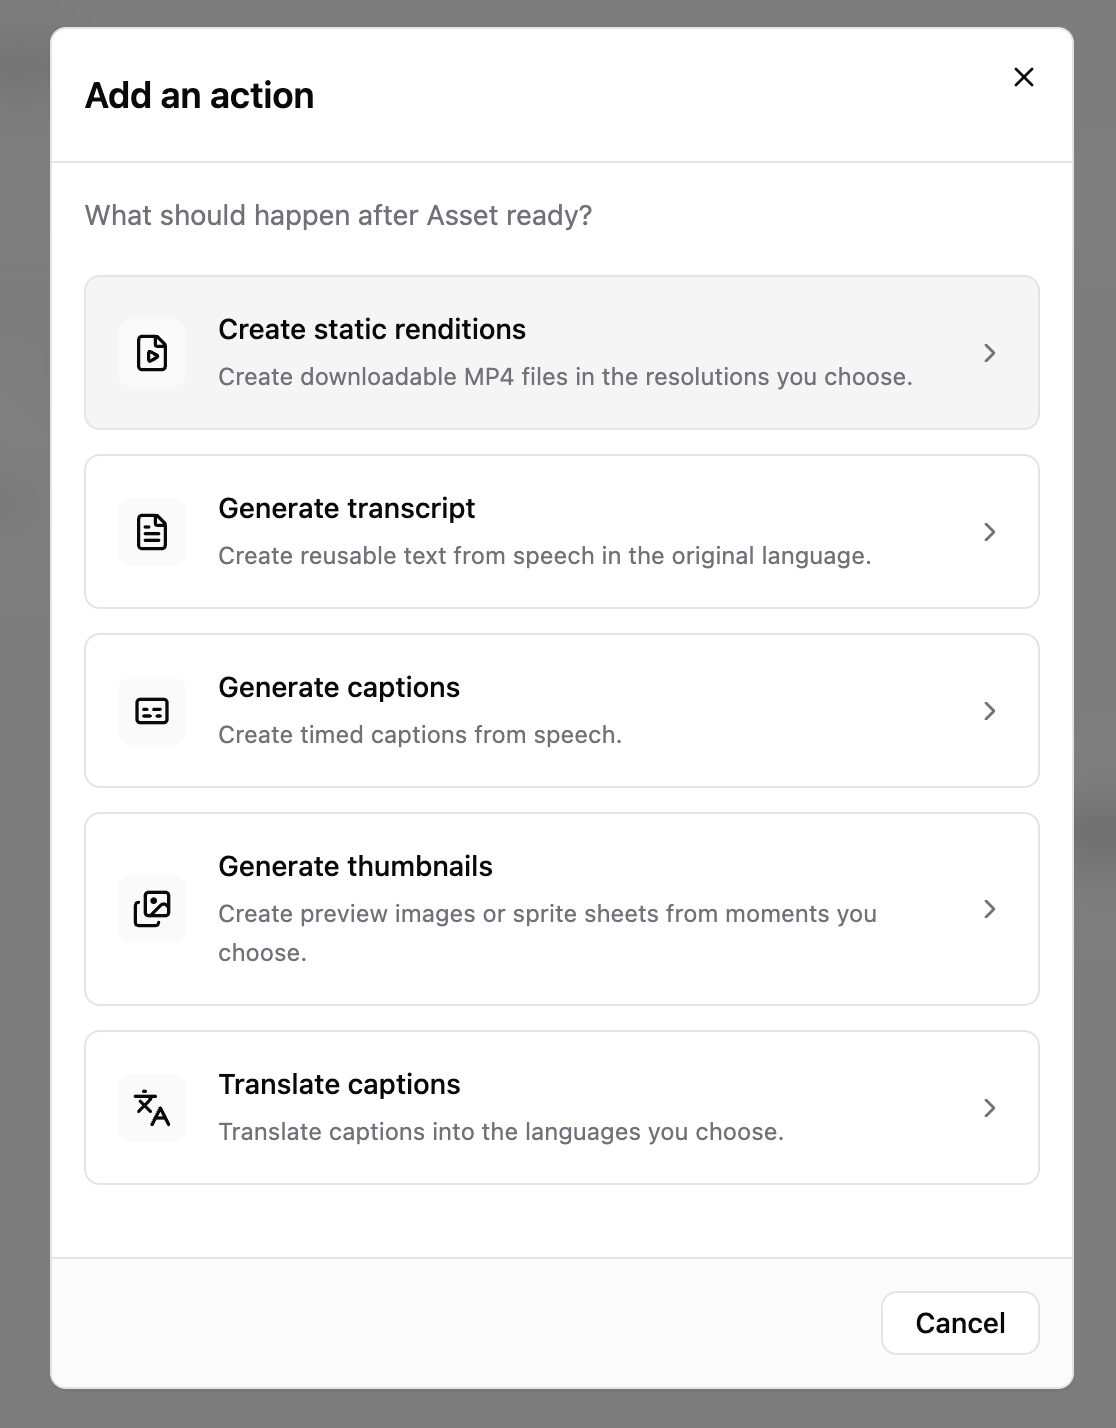
Choose the action you want to add to your Workflow.
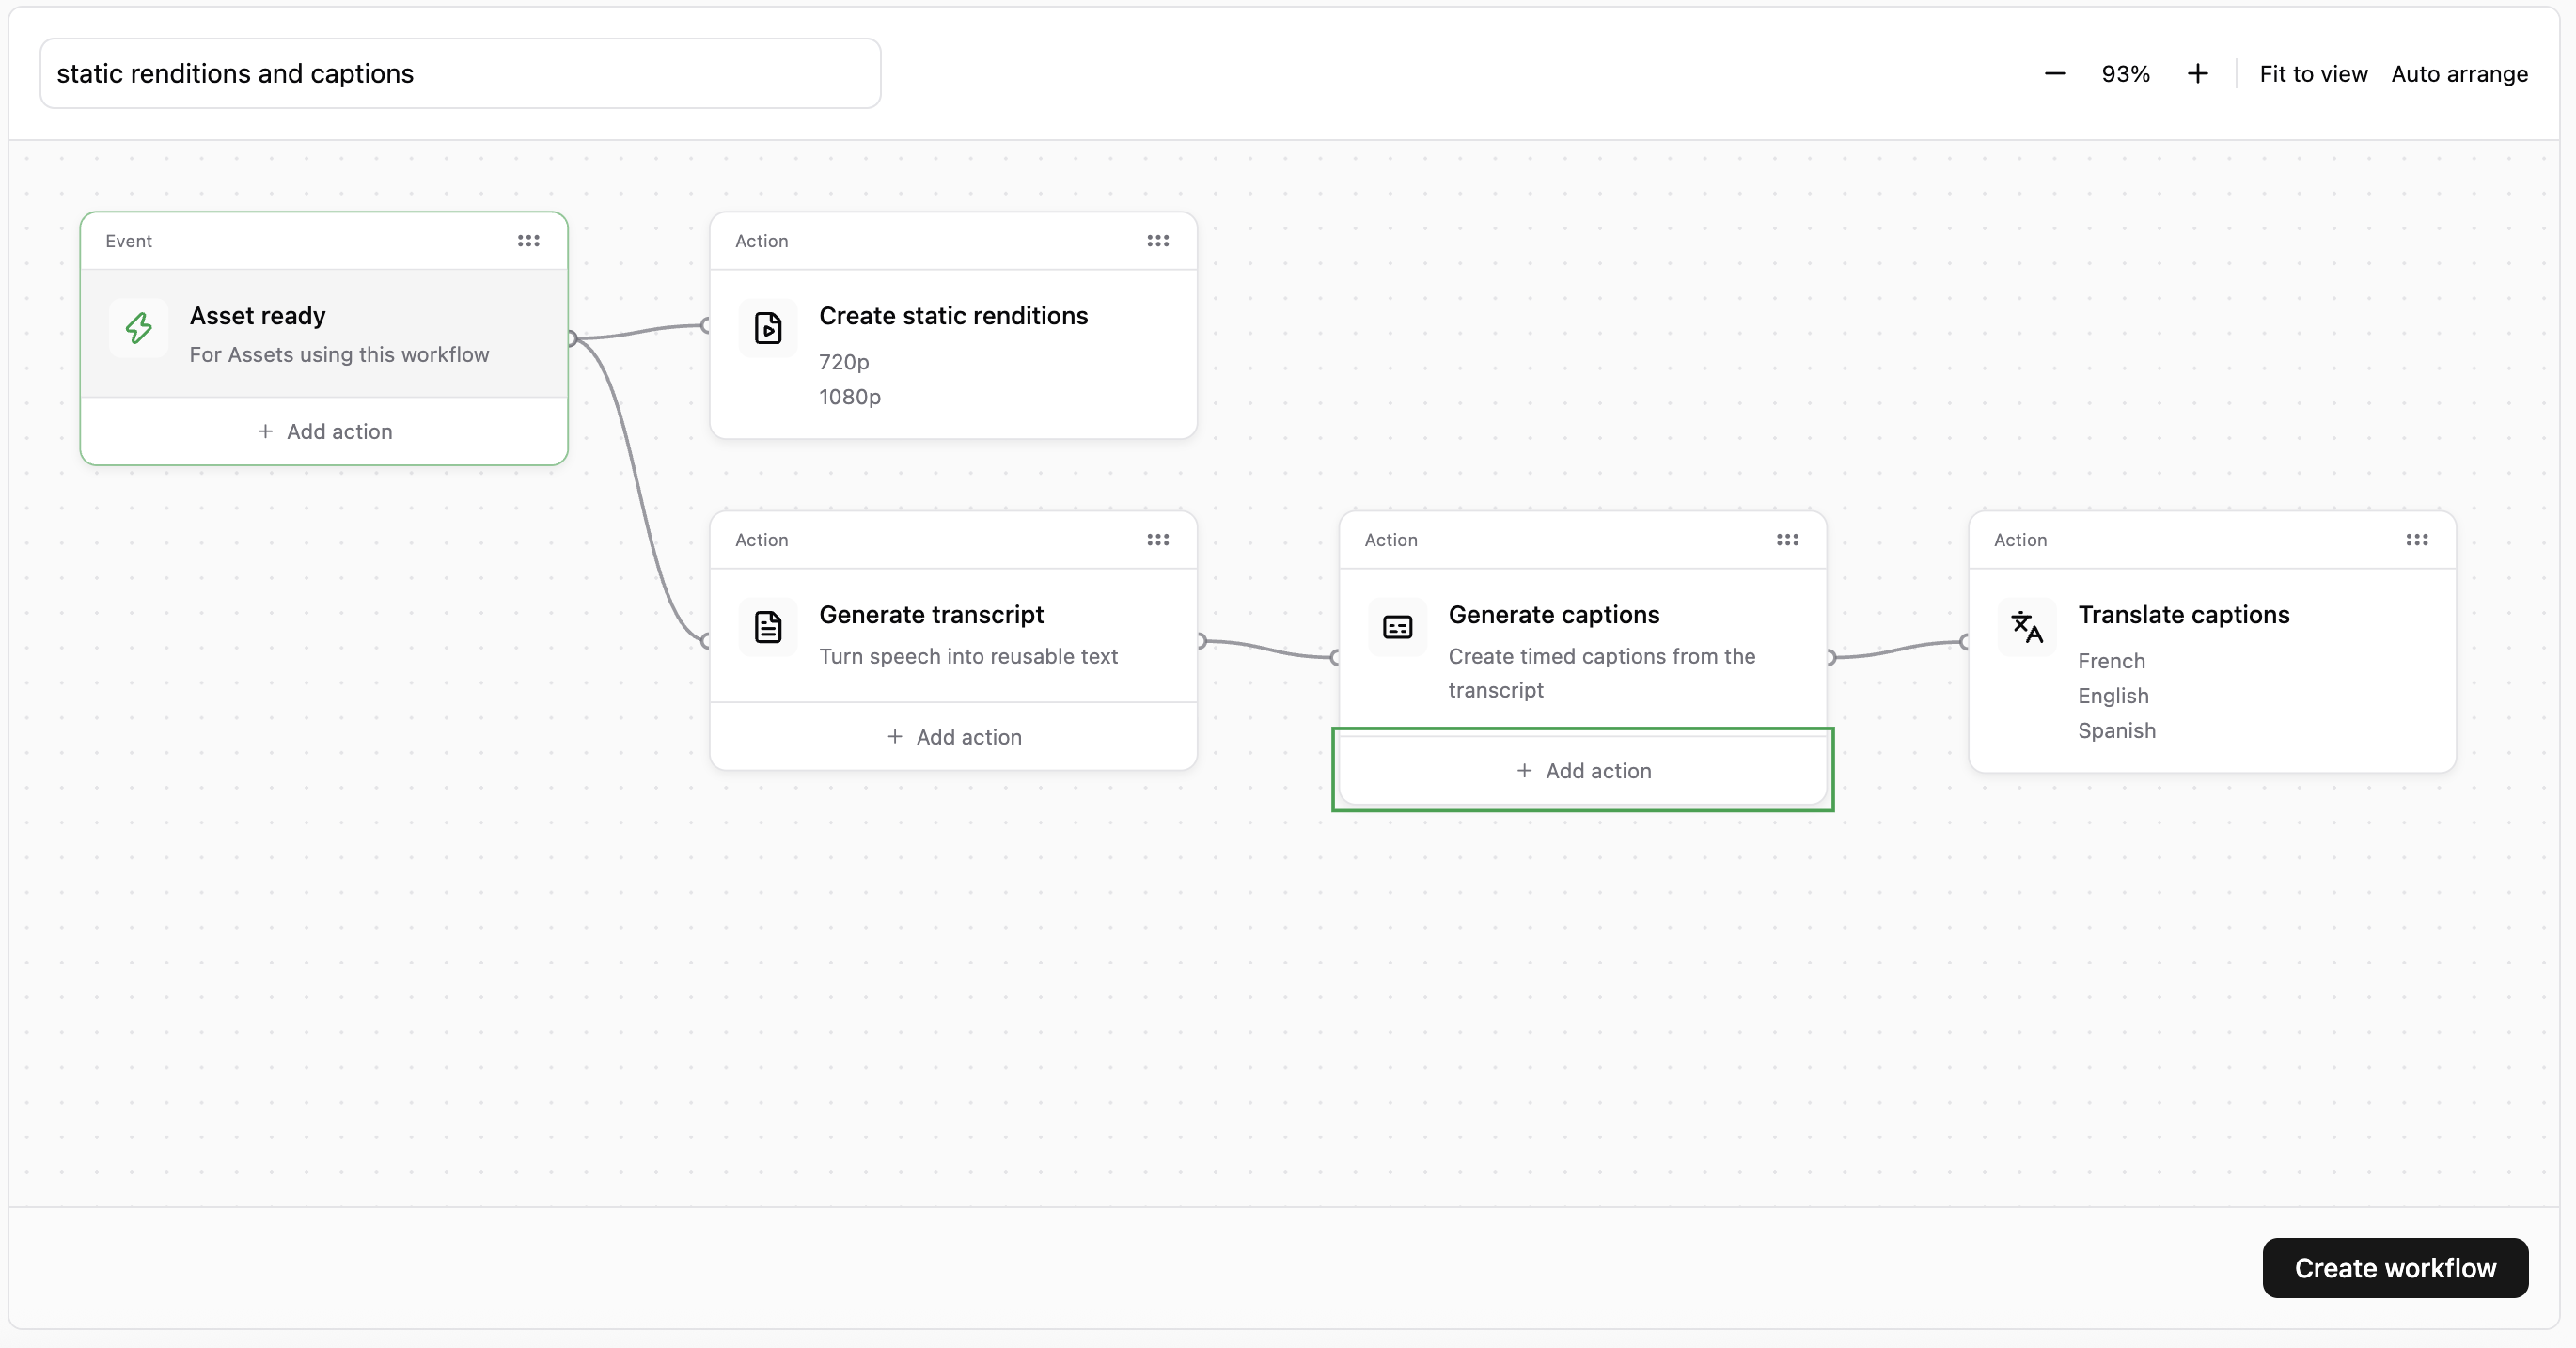
For example, follow these steps to build the Workflow shown below. Choose Create static renditions and select your output resolutions, here 720p and 1080p.
To add captions, select Add action under Asset ready and choose Generate captions. The editor adds the required Generate transcript step automatically.
To translate the captions, select Add action under Generate captions, choose Translate captions, and select your target languages.
Select Create workflow to save your Workflow.
Set the Project default
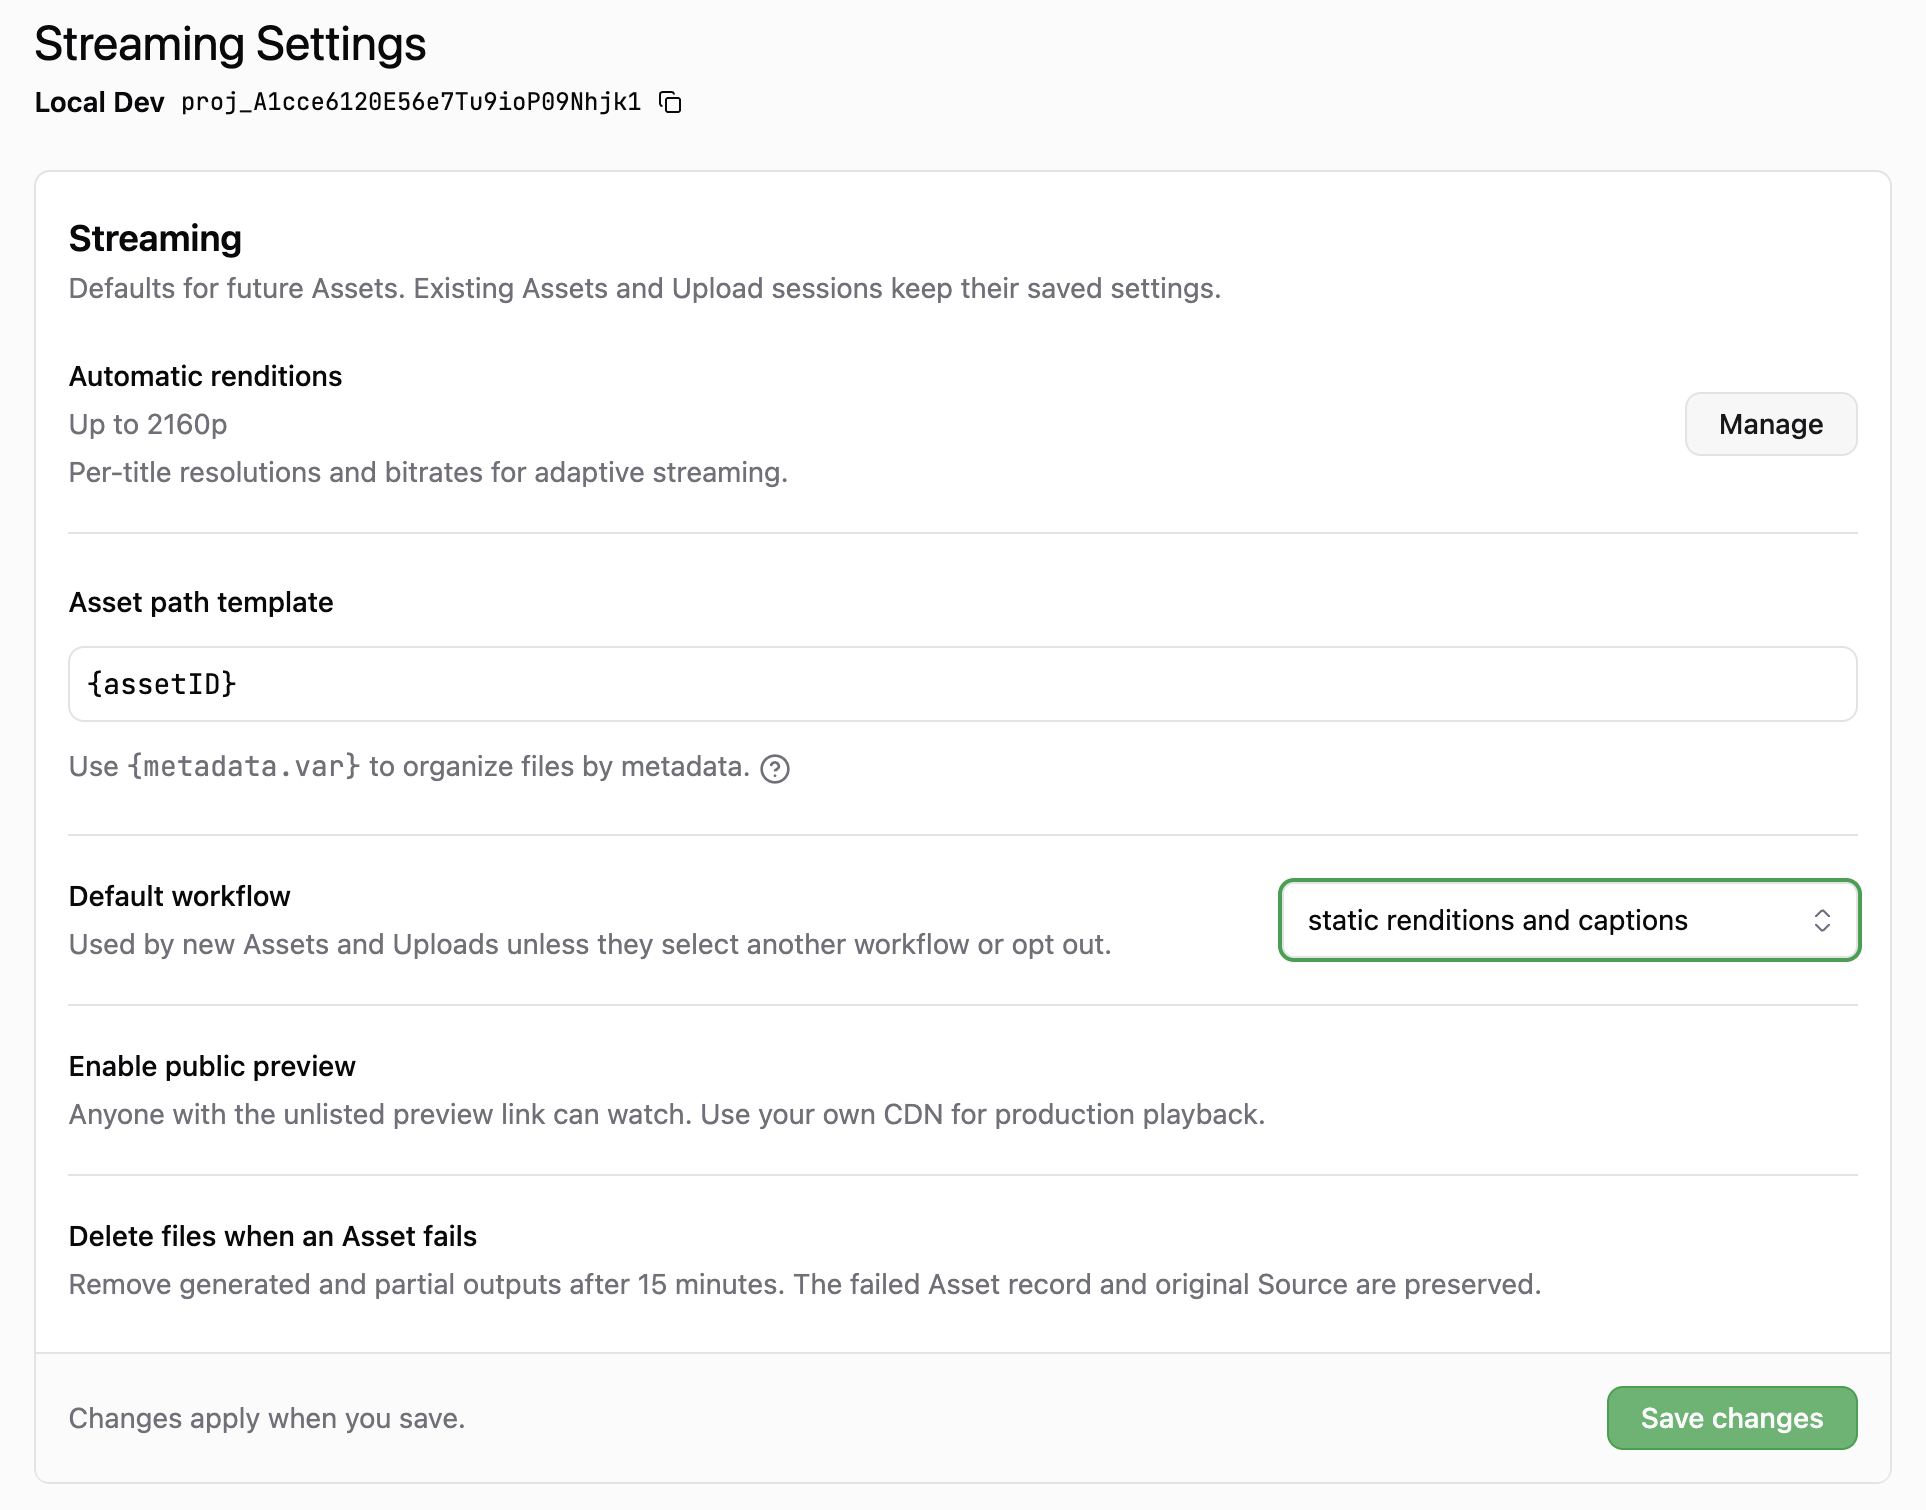
Open Video streaming → Settings. In the Streaming section, find Default workflow below Asset path template. Select your Workflow, then select Save changes. New video assets will use this workflow by default.
Chose a specific Workflow for one video asset
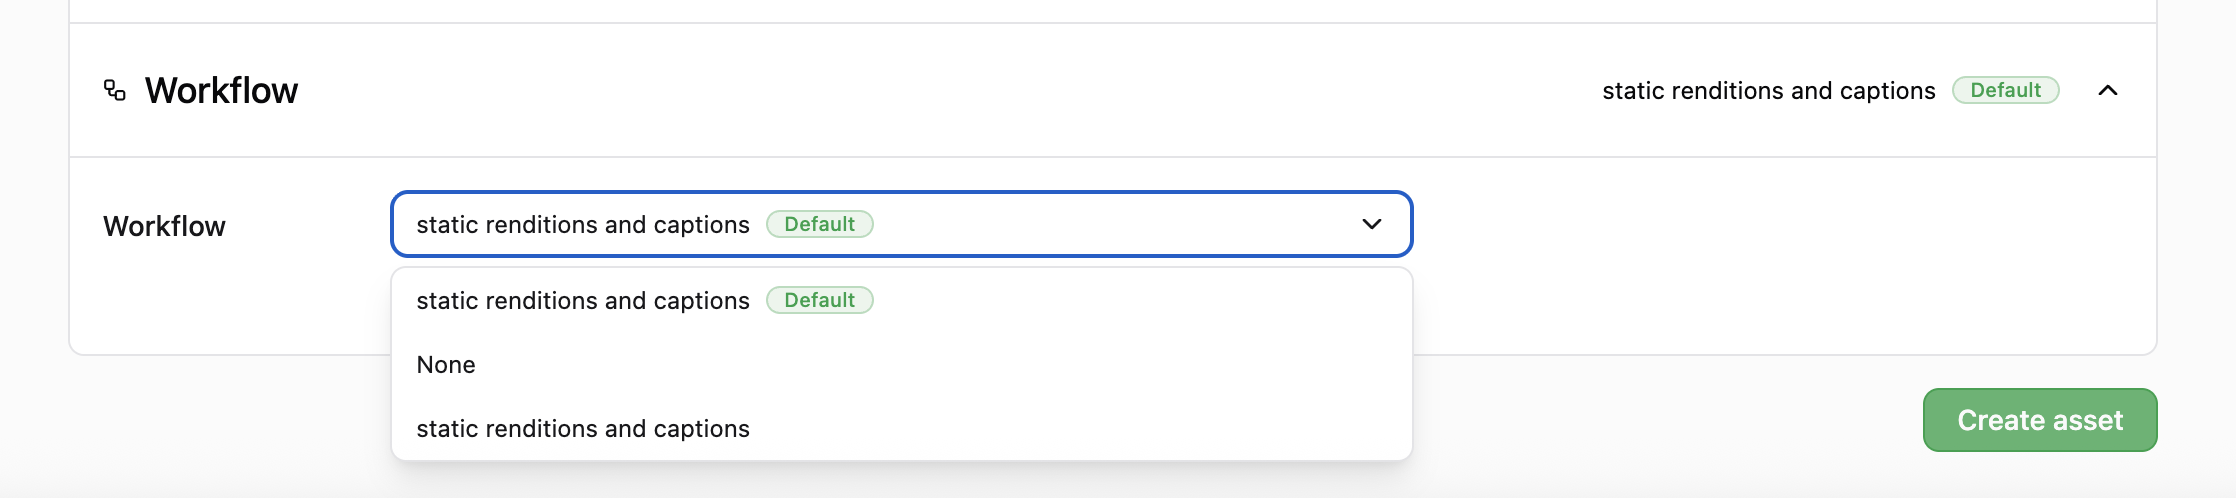
When creating a video asset, open Workflow to override the Project default for that asset. Choose another Workflow, or None to skip optional actions, then select Create asset.
Reuse speech across steps
Choose Generate captions after Asset ready and the editor automatically adds Generate transcript before it. Choosing Translate captions after Asset ready adds both the transcript and captions steps before translation. Existing prerequisite steps in that path are reused. Each step waits for the output it needs to be ready.
For transcript-only processing, choose Generate transcript. You can add captions later with Add action under the transcript step. All speech steps share one transcription job, and an existing ready result advances its connected steps immediately without another processing event.
Check the outputs of a workflow
Open the video asset's Outputs section to see all outputs in one list. Filter by type and use Manage outputs to create or remove them. These outputs have their own statuses, so the video asset can be ready while they are still processing.
Review a Workflow run
In Video streaming → Workflows, open a Workflow and find the video asset under Runs. The list shows whether its Workflow is working, completed, failed, or cancelled.
Select the video asset to open the asset workflow. Choose an action in the diagram to see its status, result, and last update, including why it was skipped or failed. You can also open this view from the video asset's Workflow button at the top right.
Read the current resources through Asset outputs. Direct requests and Workflow actions use the same output IDs. Workflow history and output resources have separate retention.